Answer options
- How do I create a new answer option?
- How do I edit an existing answer option?
- Importing answer options from another division
How do I create a new answer option?
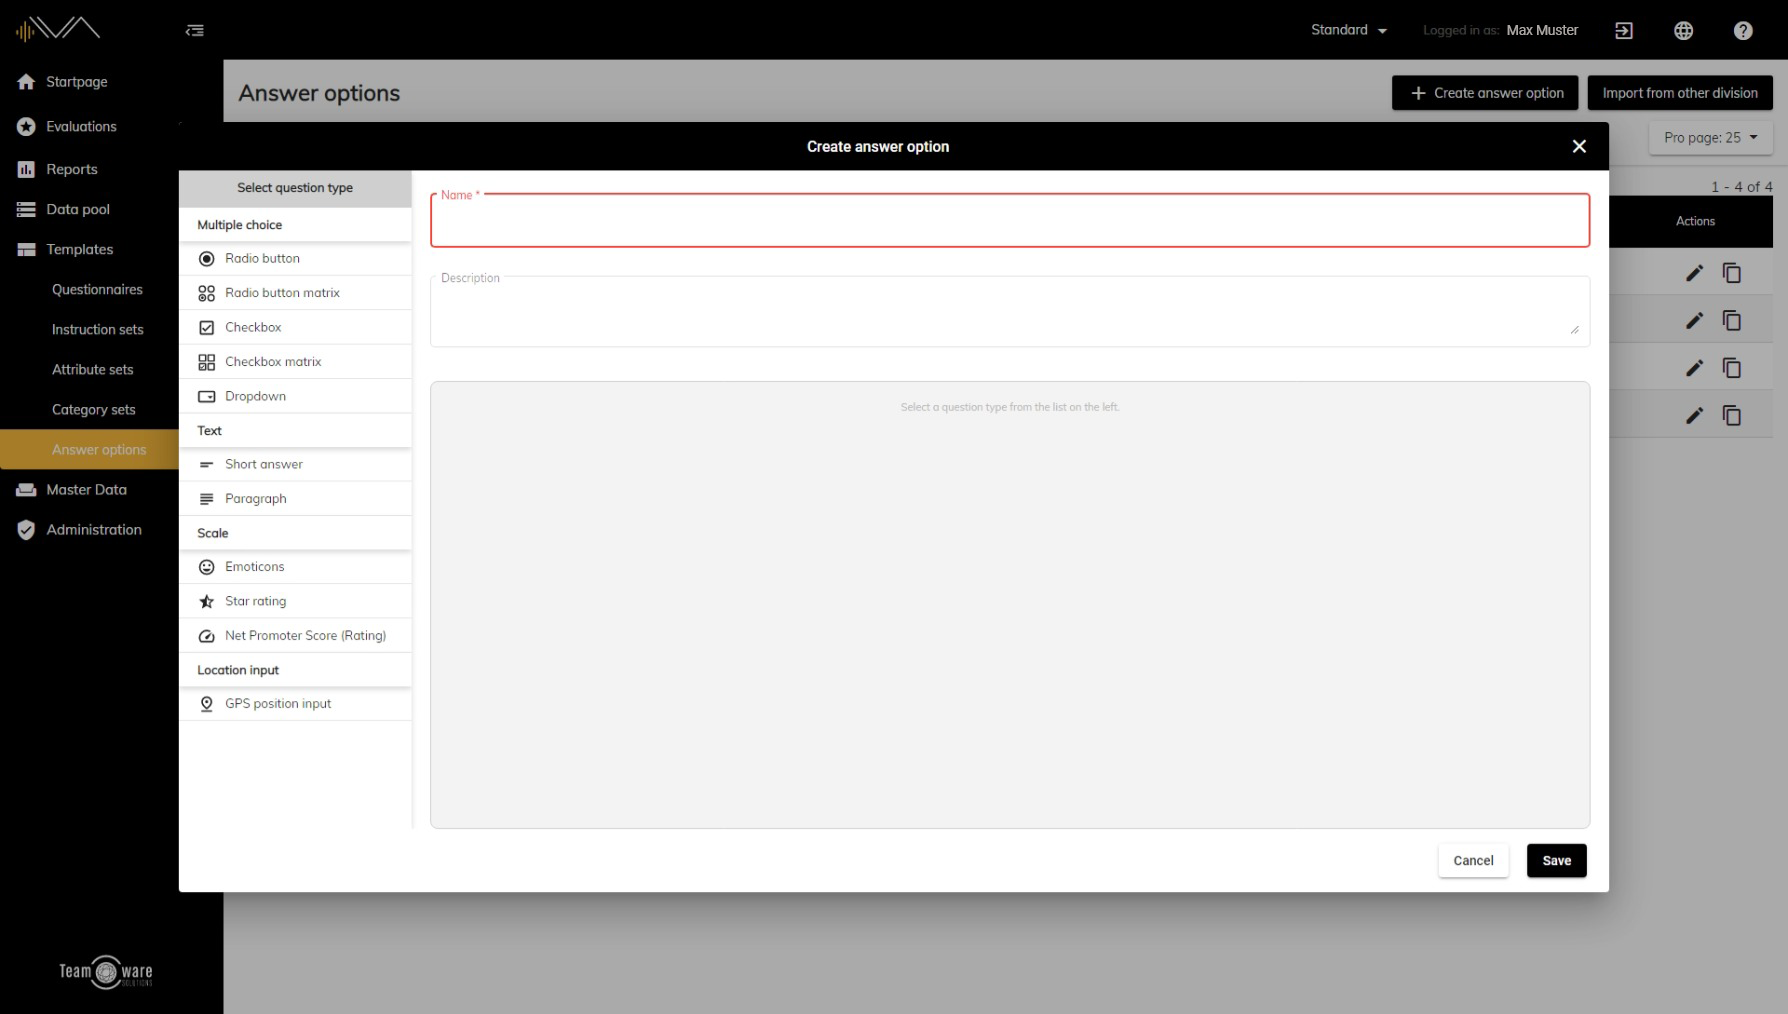
To create a new answer option, first navigate to the corresponding menu item. To do so, click on Templates -> Answer Options in the left navigation bar. There you will see an overview with all your existing answer options. To add a new one, click on the "Create answer option" button in the upper right corner. Now a new popup appears where you can give the set a name (attention: mandatory field) and optionally add a description. In the left column you can see an overview with all available question types. When you have decided on a question type, simply click on the corresponding line. The selected question type is now waiting for your configuration in the big box. When you are done, don't forget to press the "Save" button.
How do I edit an existing answer option?
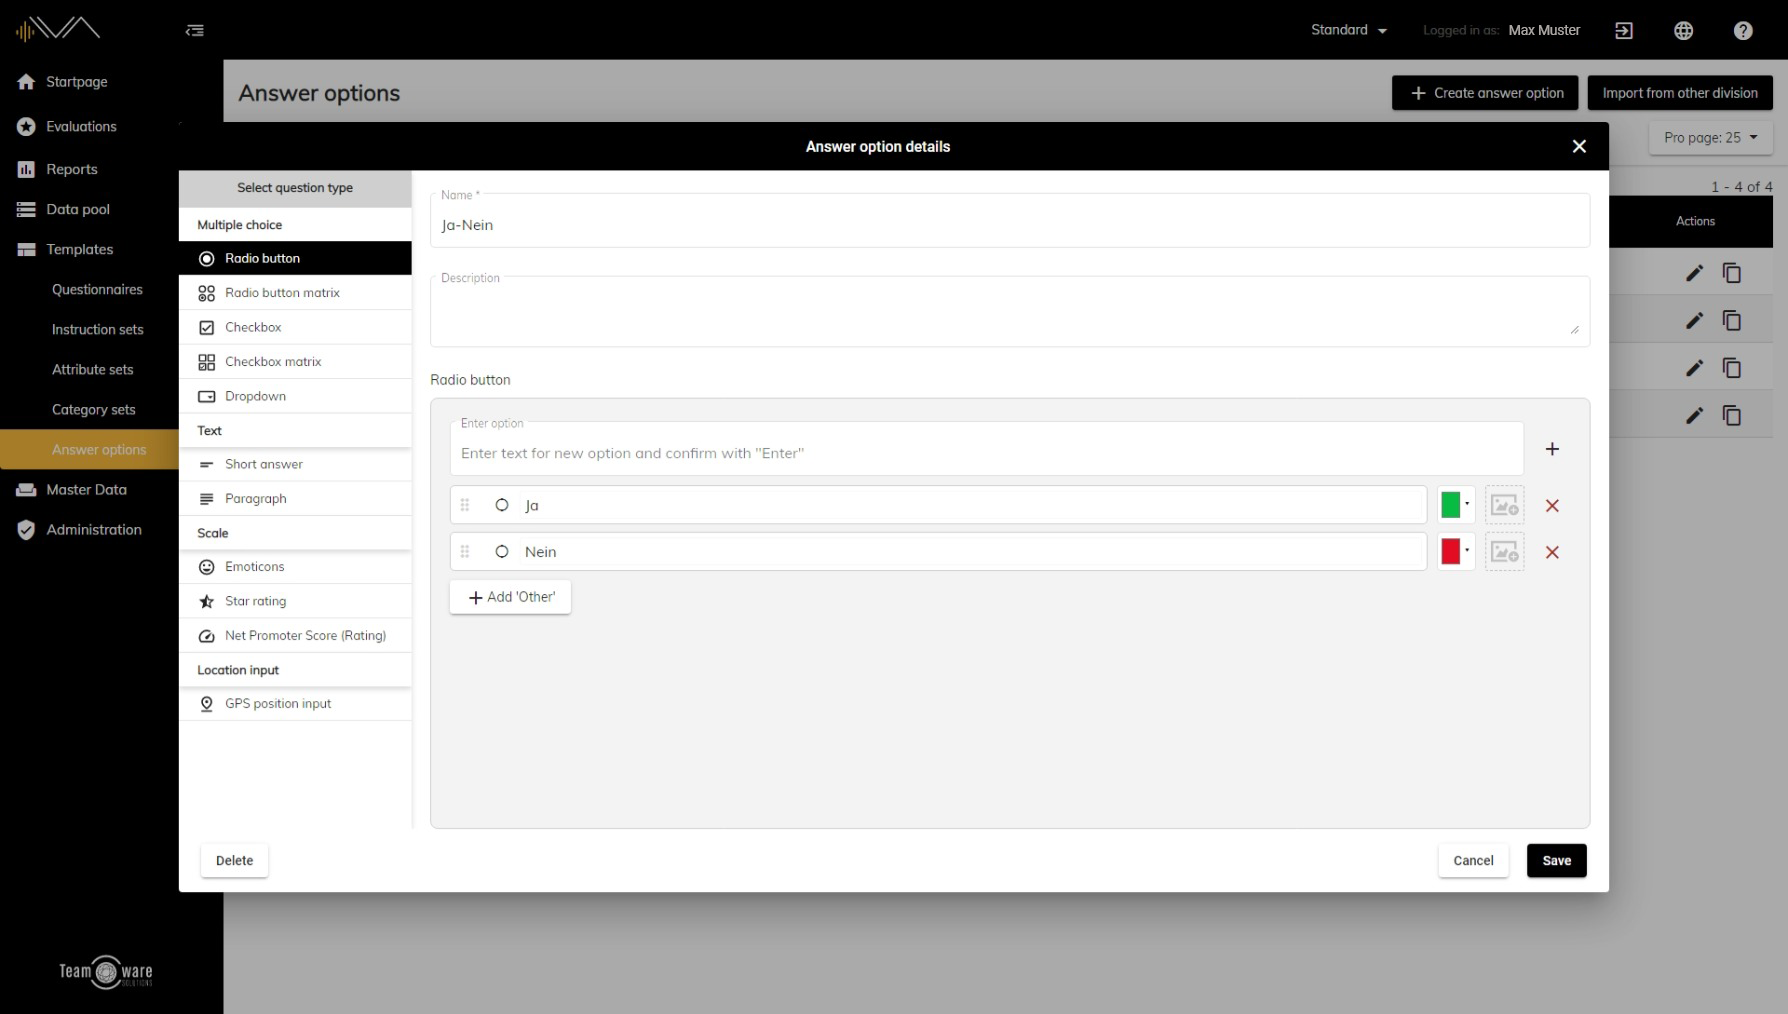
To edit an existing answer option, you must first navigate to the corresponding page. To do this, click on "Templates" -> "Answer Options" in the left navigation bar. Select your desired answer option there (tip: you can also use the search) and double-click on the corresponding line or alternatively on the pencil icon. Now a popup will open where you can see all available question types in the small column and the details of your answer option in the large area. There you can edit the name, description as well as the configuration of the current question type. When you are done editing, don't forget to click the Save button.
Importing answer options from another division
To import answer options from another division into your division, first navigate to “Templates” -> “Answer options”.
Here, click on the “Import from other division” button. A pop-up will then open with the divisions from which you can import answer options. Select a division and then click on Import to import the relevant answer options.