4.0 Instances
4.1 Change instance
The overview of instances can be accessed by clicking on the menu icon. The menu item “Change instances” can be found directly under the user's account data.
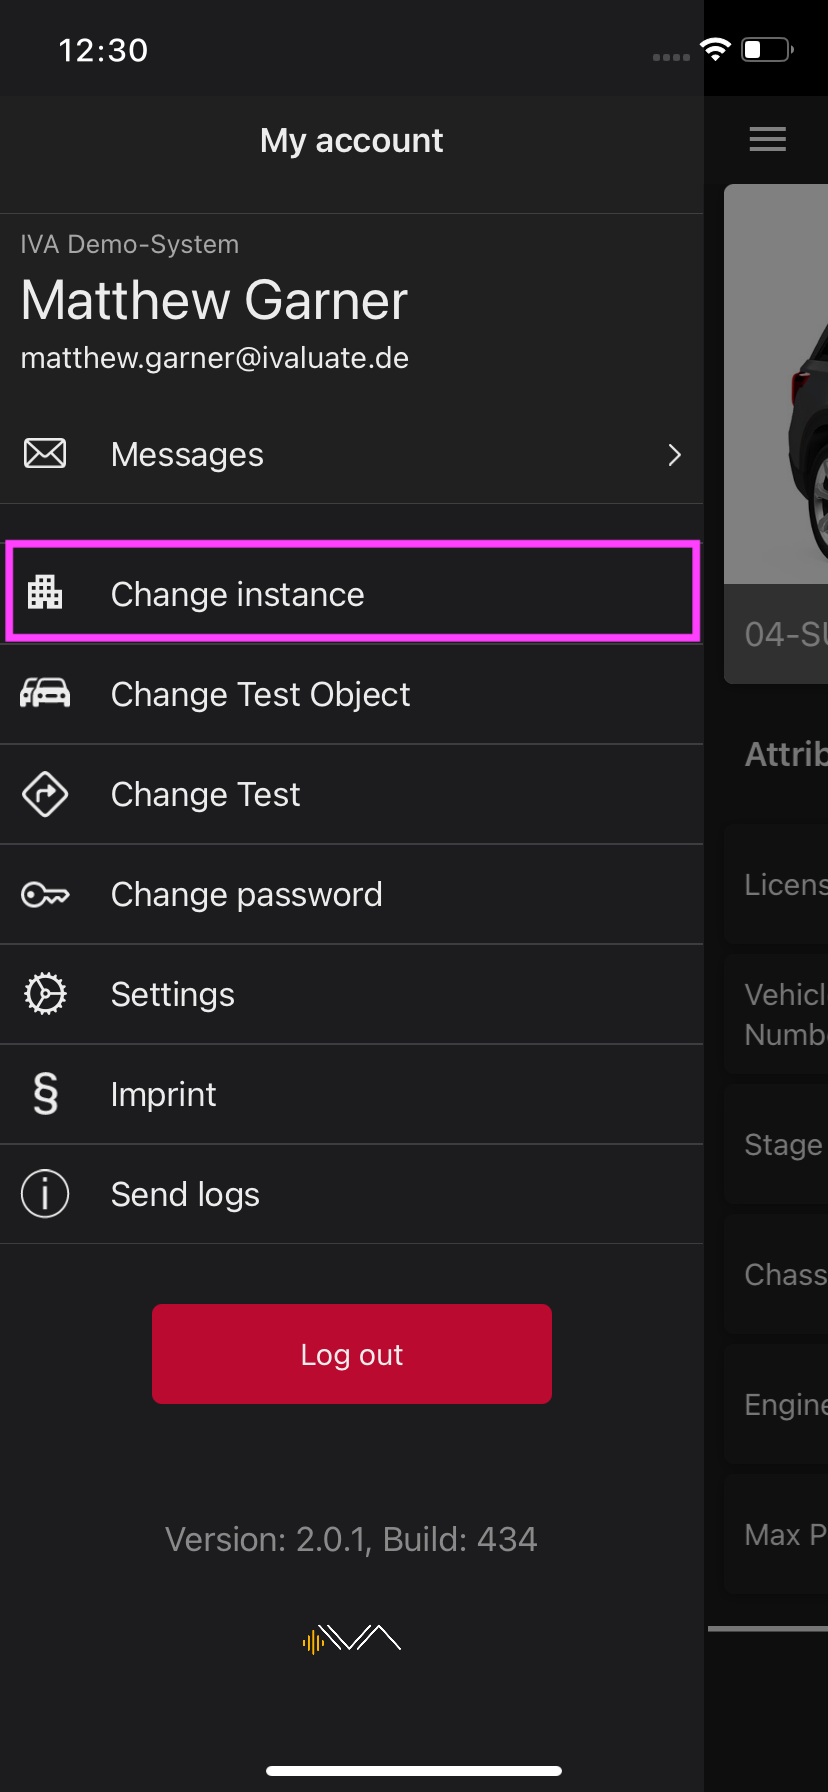
Clicking on this menu item opens a new pop-up with the list of available instances. Each instance is displayed in a tile. At the bottom of the pop-up there is a “Scan QR code” button that enables you to scan a code provided by the planer.
4.2 States of instances
Click on the “Change instance” menu item to open a new pop-up with the list of available instances. Each instance is displayed in a tile.
At the bottom of the pop-up is a “Scan QR code” button, which you can use to scan codes provided by a planner. You can also use the photo app to scan a QR code and switch instances.
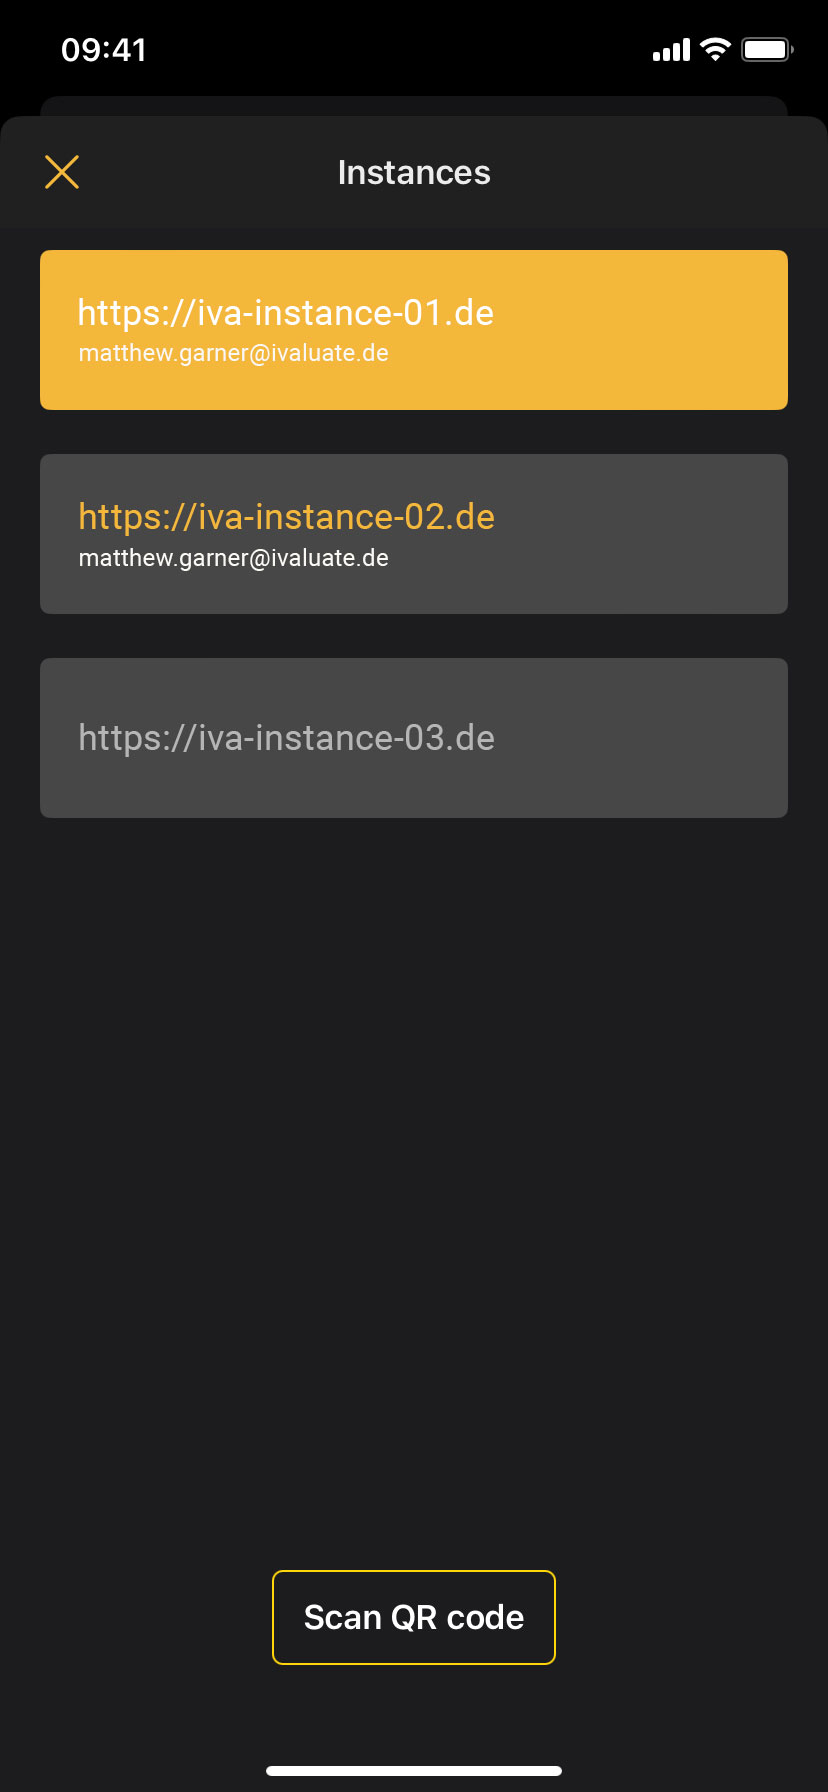
Each instance is displayed in a gray or yellow tile, depending on its status.
Instances can have the following states:
- Active (yellow tile, only one instance at a time): Instance you're currently logged into and that is selected
- Inactive (gray tiles, instance name in yellow): Instance you're logged into but isn't currently selected
- Logged out (gray tile, instance name in gray): Instance that you're currently not logged into
4.3 Instance tiles
An instance tile contains:
- Address of the instance
- E-mail address of the user
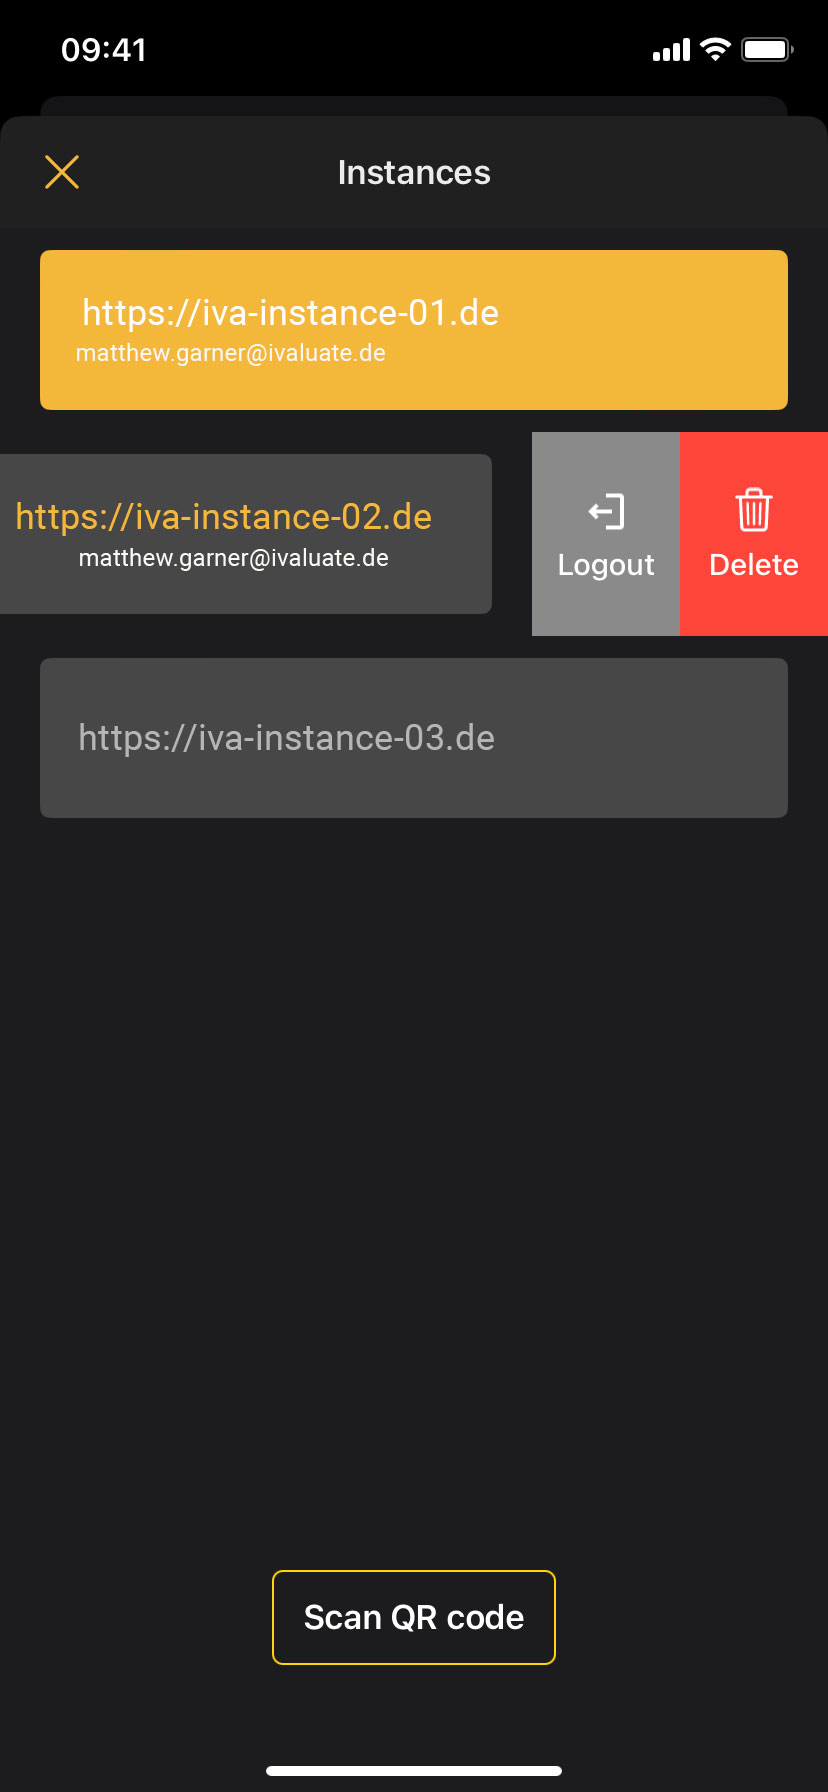
Various actions are possible via the instance tiles. To perform an action, you must swipe to the left on the tile.
The following actions are possible:
- Log out of an active instance
- Log out from an inactive instance
- Delete an inactive instance
- Delete a logged off instance