Administration
In the administration section, settings can be made to the system (colors, logo, connection to the online user manual), help entries can be maintained and central data such as users and areas can be managed.
- Divisions
- What are divisions?
- How do I create a new division?
- How do I edit a division?
- How do I delete a division?
- Settings
- How can I customize the color design?
- How do I change the name, logo and support data?
- How do I set the connection to the help system?
- Users
- How do I create a new user?
- How can I edit a user?
- How do I delete a user?
- How do I resend the password email?
- Roles and rights
- Help entries
Divisions
What are divisions?
Divisions help you structure your work. For example, you can create a separate division for each department in which IVA is used and thus restrict access to the planners of the respective department. Another useful way to use divisions is to divide them by product groups. For example, a division could be created for testing Beziner cars and a division for electric cars.
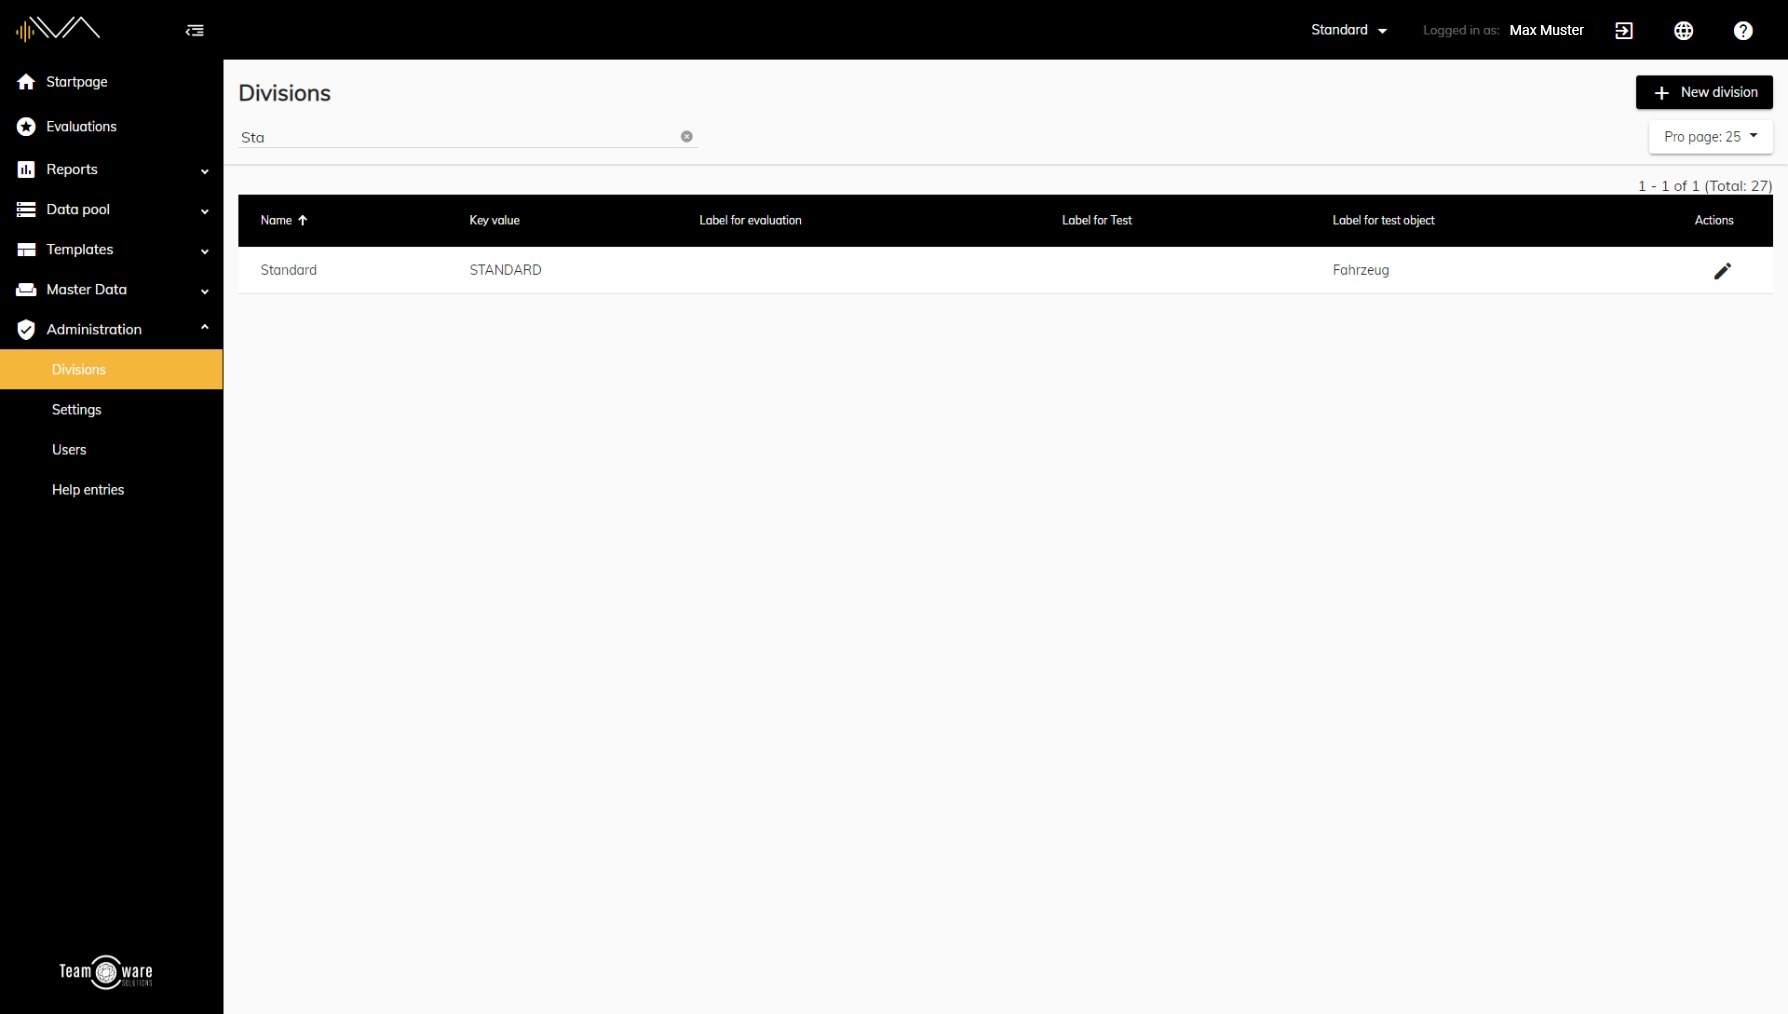
How do I create a new division?
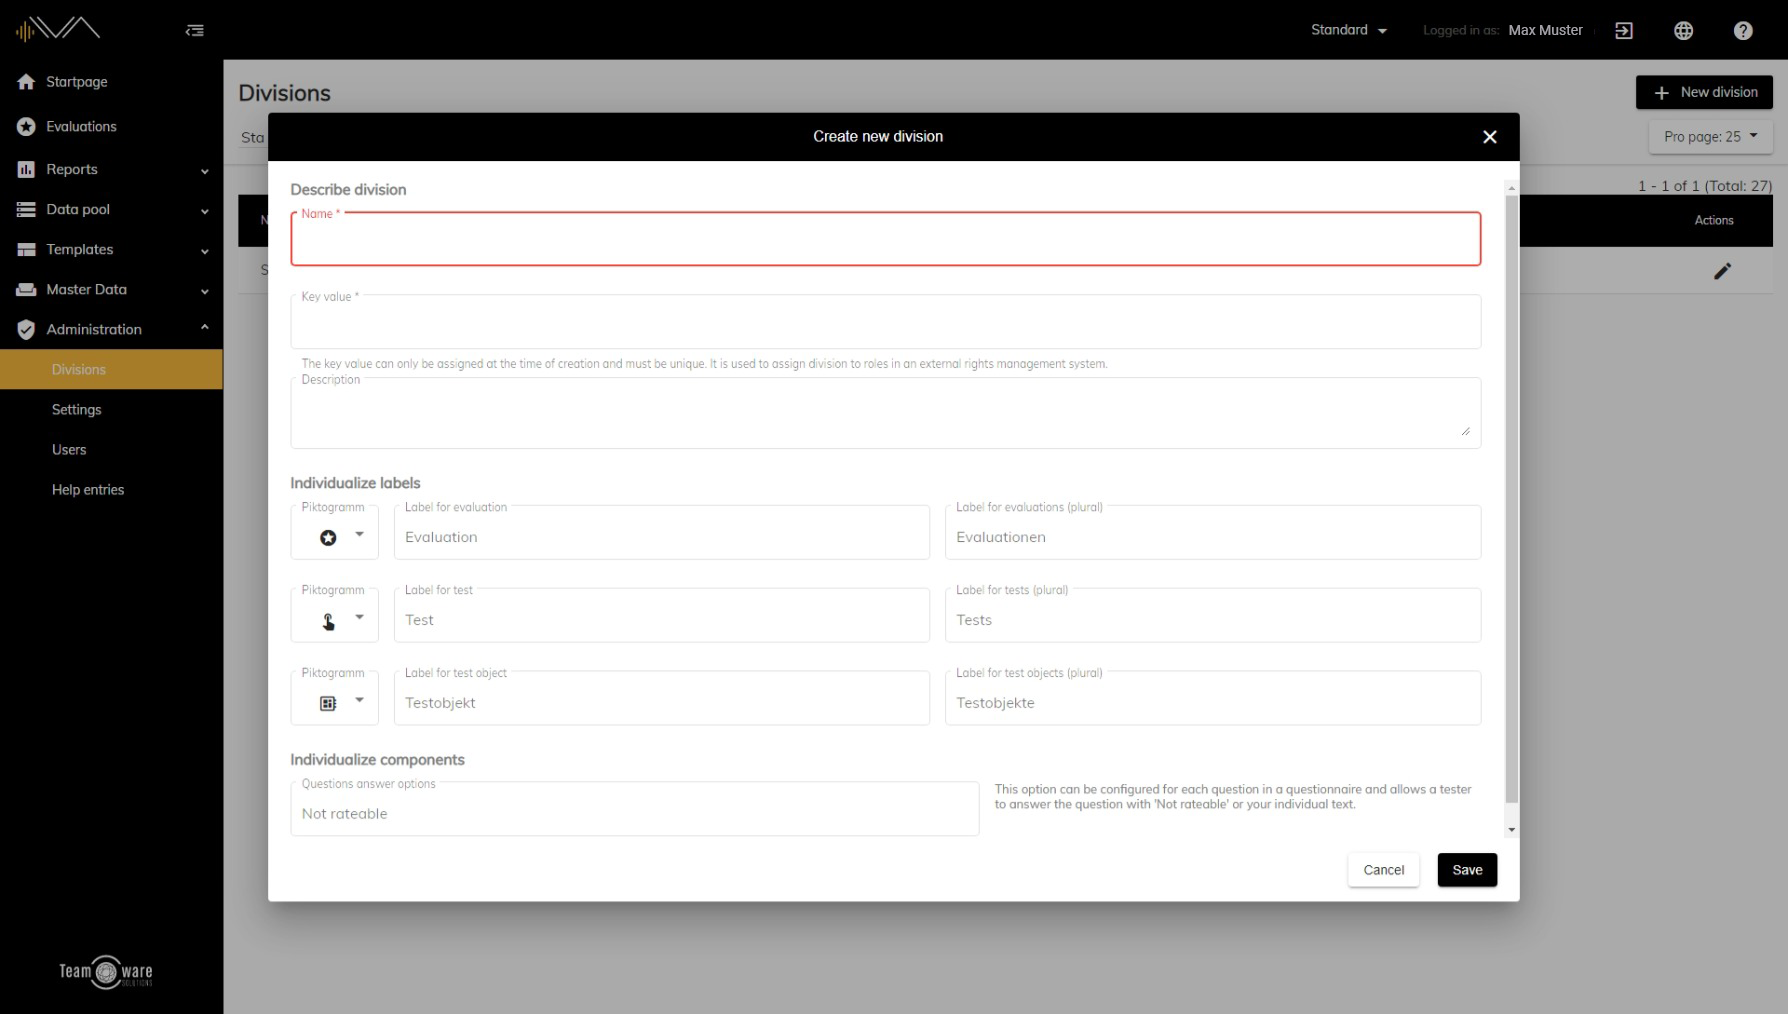
First of all, you must have the appropriate authorization for the administration. If this is the case, you will see "Administration" as the last menu item in the left navigation. Now please open this item and click on "Divisions". Now you will find a button called "+ New division" in the upper right corner. After you have pressed this button a pop-up window "Create new division" will open. Now you can fill in the following items:
- Name (mandatory field): Please enter a name for the division here (for example, a department or a product division).
- Key value (mandatory field): Please enter a unique key value here. This cannot be changed once the area has been created. It is primarily used to be able to create division roles in an external user administration. But it is also necessary if you use an external user administration.
- Description (optional): Here you can insert an optional description of the division.
- Designation for evaluation (optional): Here you can enter your own description for evaluation, e.g. study or similar. If not, the default name Evaluation will be used. You can also select a suitable pictogram for your company and determine the designation for the plural.
- Designation for test (optional): Here you can enter your own designation for test such as e.g. test drive or similar. If not, the default name Test will be used. You can also select a suitable pictogram for your company and determine the designation for the plural.
- Designation for test object (optional): Here you can enter your own designation for the test object, e.g. vehicle or similar. If not, the standard designation test object will be used. You can also select a suitable pictogram for your company and determine the designation for the plural.
When you have filled in all relevant fields, you can click Save.
How do I edit a division?

First of all, you must have the appropriate authorization for the administration. If this is the case, you will see "Administration" as the last menu item in the left navigation. Now please open this item and click on "Divisions". Here you will find a list of all divisions. After you have selected one, double-click on the corresponding line or on the pencil under Actions. Now a pop-up window "Division details" will open. Now you can fill in the following items:
- Name (mandatory field): If you want, you can change the name of the division here.
- Key value (mandatory field): The key value cannot be changed.
- Description (optional): Here you can edit the optional description of the division.
- Designation for evaluation (optional): Here you can edit the name for evaluation. You can also select a suitable pictogram for your company and determine a name for the plural.
- Designation for test (optional): At this point you can edit the name for test. You can also select a suitable pictogram for your company and determine a name for the plural.
- Designation for test object (optional): Here you can edit the name for test object. You can also select a suitable pictogram for your company and determine the designation for the plural.
When you have filled in all relevant fields, you can click on Save.
How do I delete a division?
To delete a section, first navigate to Administration -> Sections. There you will find a list of all divisions. Now double-click the corresponding division or click the pencil icon. Now you can click on "Archive" at the bottom left. Now this division is no longer available for planners and testers. A complete deletion of a division is not possible at this point due to the many dependencies.
Settings
How can I customize the color design?
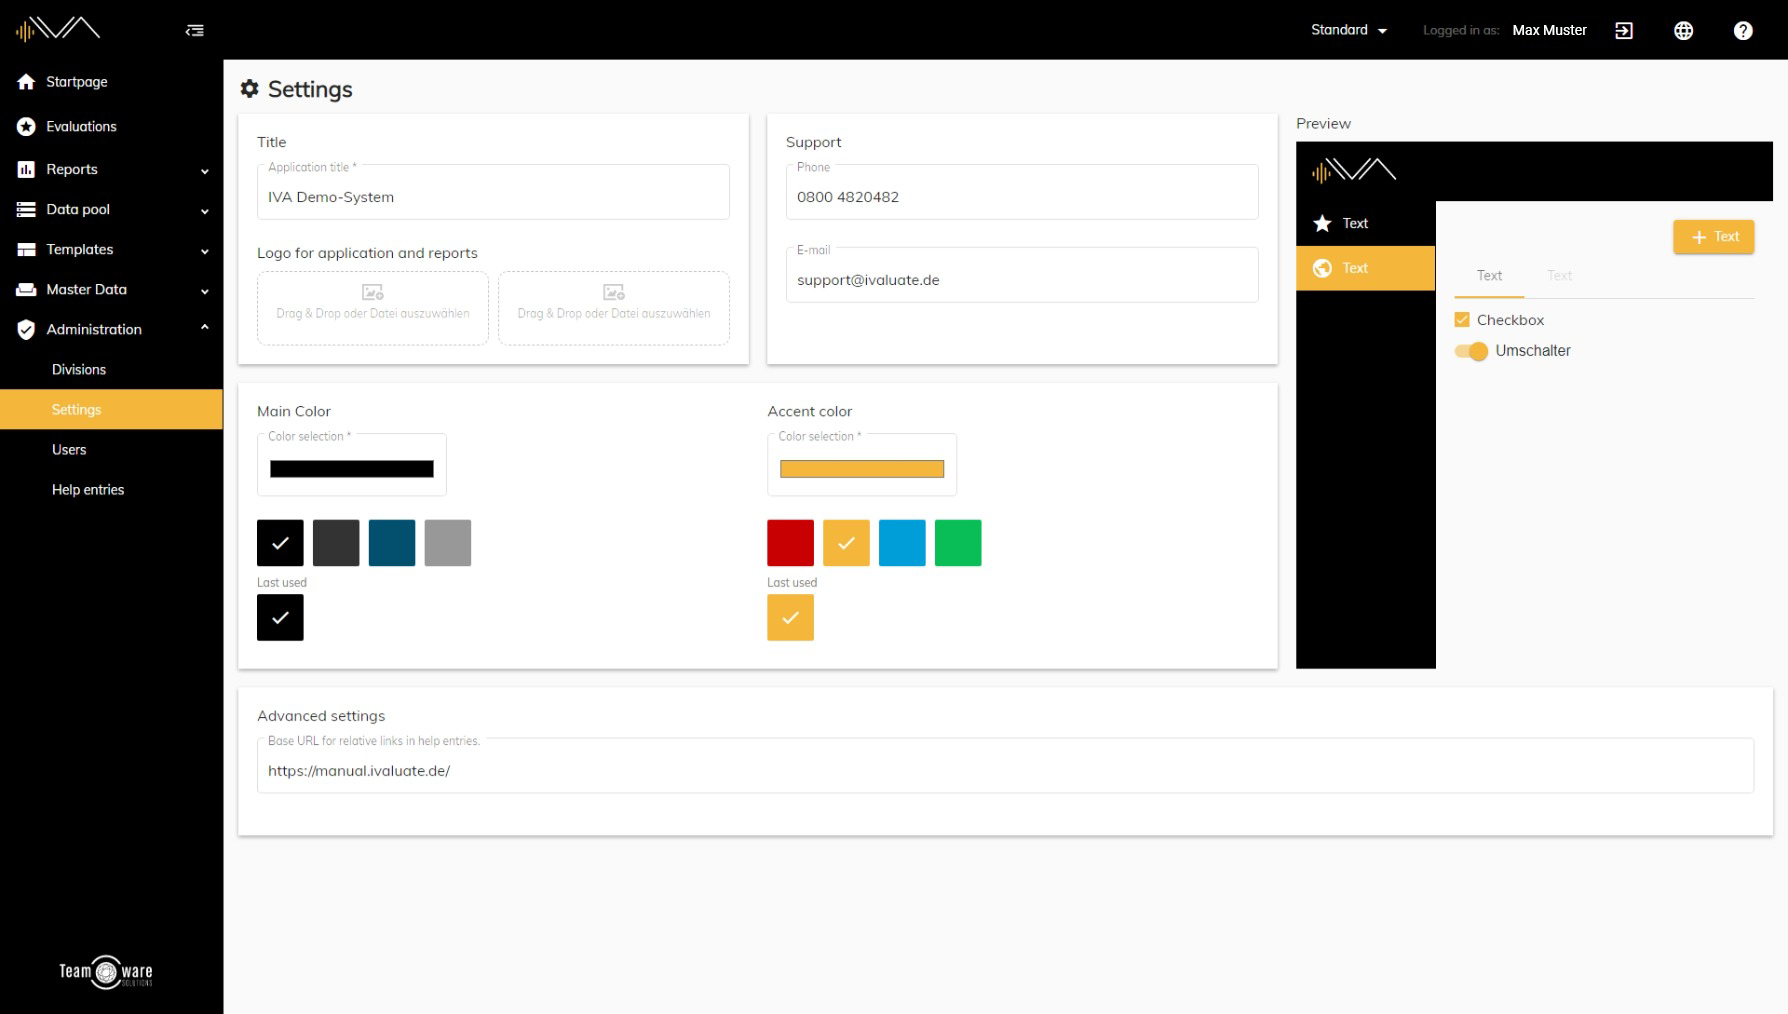
You can easily customize the color theme of your application by navigating to Administration -> Settings in the left navigation. Now you will find two settings options in the lower half of the page: Main color and Accent color.
The main color can be seen e.g. in the background of the navigation bar or also in the header. The accent color can be seen e.g. on the active navigation entry or some buttons for saving, etc.
For both you will find four pre-selected colors from which you can choose one. Alternatively, you can select an individual color. To do this, click on the "Color selection" field. Now a pop-up window will open. In this you can select your desired color from a wide color palette or enter an individual RGB value. This way, any color can be mapped.
A preview window appears on the right side, where you can view your changes live.
When you are done with your edits, click on the Save button at the bottom right.
How do I change the name, logo and support data?
To customize the name of the application and the logo, you must first navigate to the corresponding menu item (Administration -> Settings).
Now you can change the title of the application and the logo under "Logo & Tiel". Under "Support" you can optionally store your own support phone number and e-mail address for your planners & testers.
How do I set the connection to the help system?
In the settings you will find an "Advanced settings" section below the color settings.
Here you can set the base URL of the help system. It is always used if a help entry is not preceded by "http://" or "https://".
By default, our online user manual should be entered here under "https://manual.ivaluate.de/".
Links that start with these prefixes are simply resolved and displayed in the browser accordingly without the base URL.
Users
How do I create a new user?
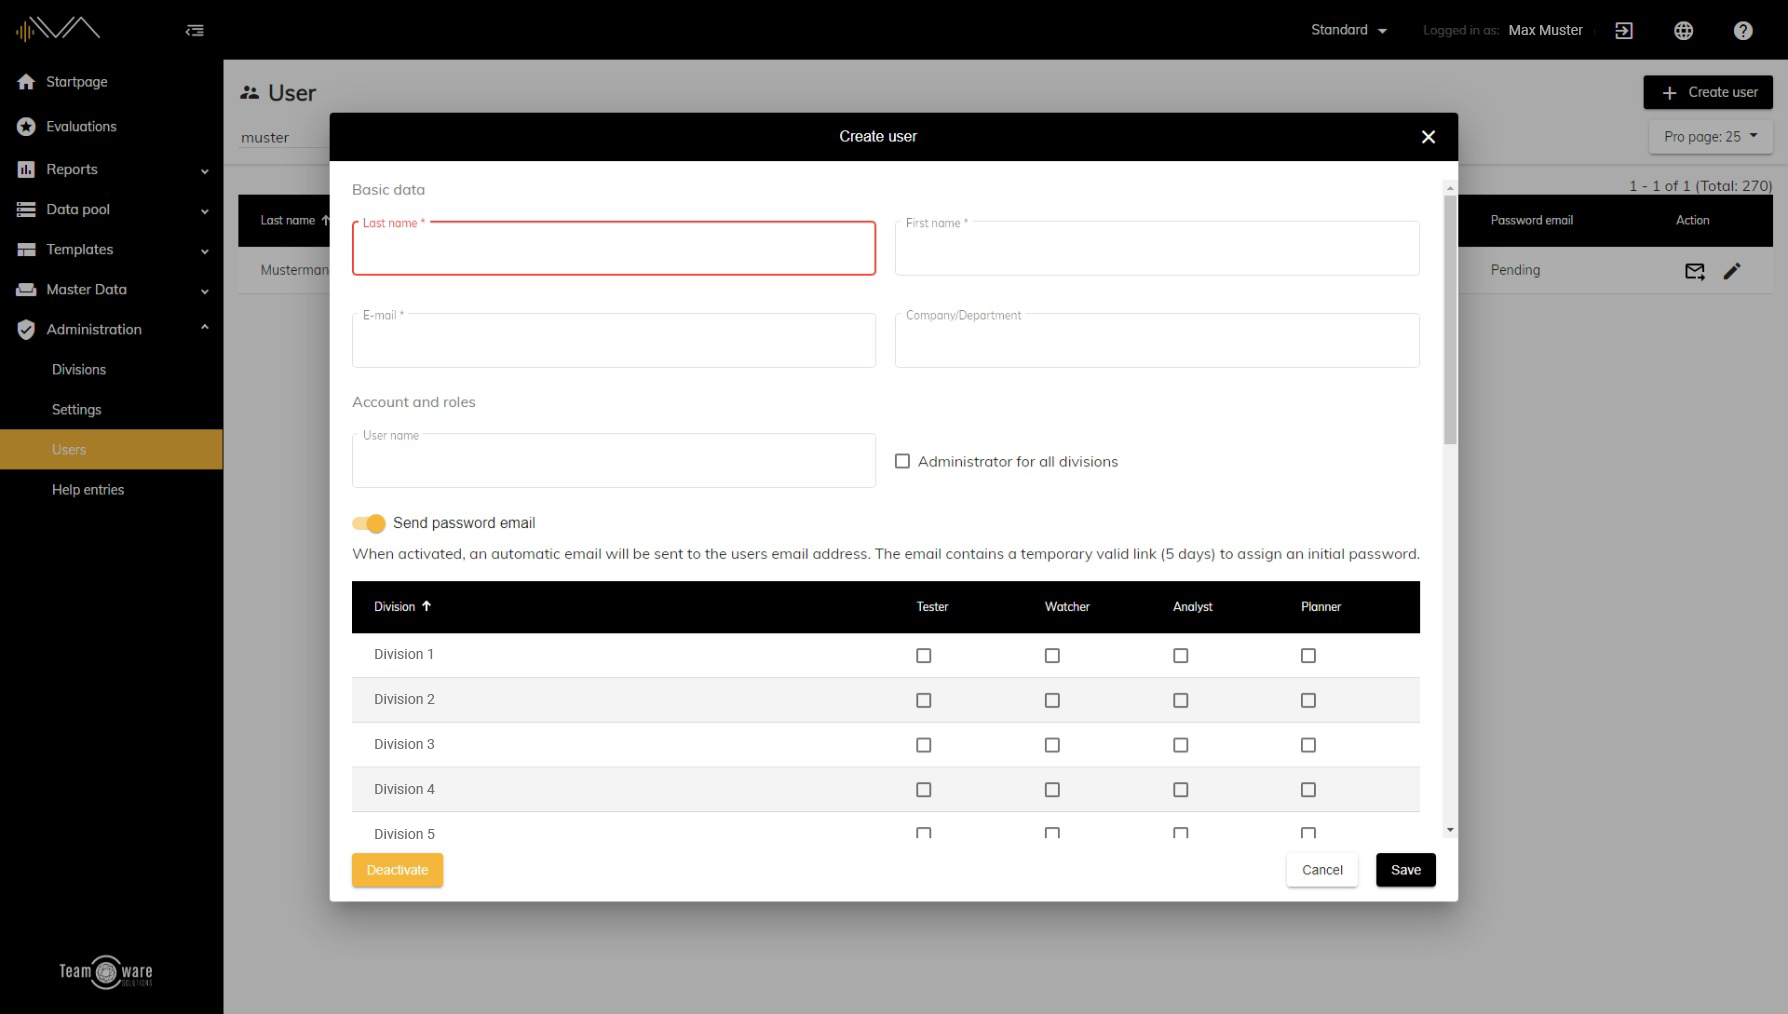
In order to create a new user, you must first navigate to the corresponding navigation point. To do this, click on "Administration" in the left navigation and then on "Users". You will now see an overview with all users. Now click on the button "+ Create user" in the upper right corner and a new pop-up window will open. Here you can enter the following data:
- Name (mandatory field)
- First name (mandatory field)
- E-mail (mandatory field)
- Company/Department (optional): If you have several users with the same name, this information is useful.
- User name (mandatory field): By default, the e-mail address is used as the user name. However, an individual user name can also be selected.
- Administrator for all divisions (optional): Check the box if the user should be given administrator rights.
- Send password emails: Upon activation, an automatic email will be sent afterwards. The email contains a link that is valid for a limited period (5 days) to assign an initial password. Deactivate the toggle if the user should be able to be selected by other testers as an alternative assessor, but does not require their own account and individual login data.
- Permission matrix: In this matrix you can select per division if the user is Tester, Planner, Analyst, Watcher or none. Multiple selections are possible here.
Now click on "Save" to save your entries.
The planner, the administrator and anyone who has organizer roles, can create a "New tester" under "Master data" in the "Tester overview" submenu and configure the following settings:
- Determine username
- Enter e-mail address
- Via the toggle create a
- user account with login -> then the checkbox "Role tester in an division" is automatically selected and cannot be changed
- choose to not create a user account with login
- "Archive" or
- "Delete" if no tester results are available
For changes of: Last name, first name, e-mail and company only the administrator is authorized. Only an administrator can deactivate users.
If a new user is created under “administration” and at the same time authorized as a tester for a specific division, the tester is automatically added to the corresponding division under "Master data" in this case too.
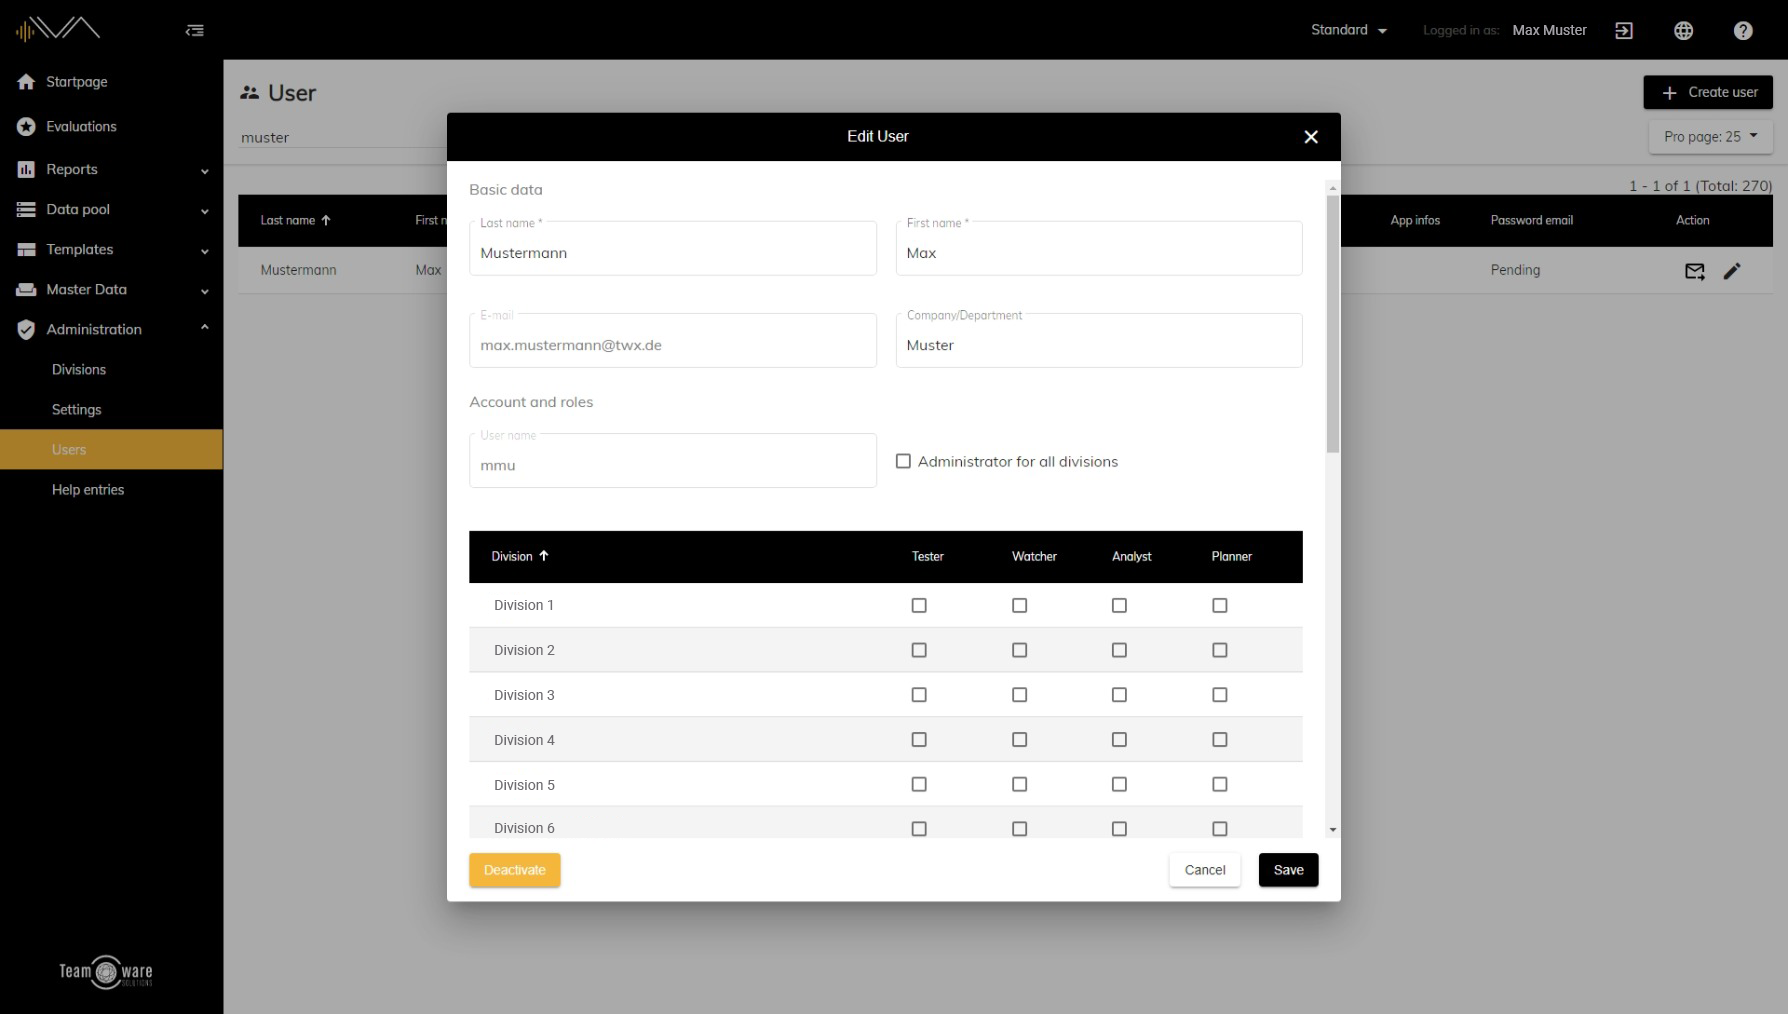
How can I edit a user?
To do this, you must first navigate to the "Administration" -> "Users" page. Now you will see an overview of all created users. You can now search the list for the corresponding person further up the page or scroll through the list. The list has the following columns: Last Name, First Name, Email, Department, Roles, Administrator, Username, App Infos, Password email and Action. Each of these columns (except Administrator, App infos, password email and Action) can be sorted alphabetically in ascending or descending order. To do this, click on the column label.
To edit an existing user, double-click on the corresponding row or on the pencil icon on the right side under "Action". A new window will open. There you can edit the following data:
- Last Name
- First name
- E-mail (must be unique)
- Department
- Username (must be unique)
- Checkbox for administrator rights
- Permission matrix for the divisions
When you have edited the user, click the Save button at the bottom right.
How do I delete a user?
To do this, you must first navigate to the "Administration" -> "Users" page. Now you will see an overview of all created users. You can now search the list for the corresponding person further up the page or scroll through the list. The list has the following columns: Last Name, First Name, Email, Department, Roles, Administrator, Username, App Infos, Password email and Action. Each of these columns (except Administrator, App infos, password email and Action) can be sorted alphabetically in ascending or descending order. To do this, click on the column label.
To deactivate an existing user (deletion is not possible), double-click on the corresponding row or on the pencil icon on the right side under "Action". A new Pop-up will open. Now click on the "Deactivate" button at the bottom left. The user is now deactivated. If you want to reactivate it in the future, simply click on the "Activate" button, which now appears in the place of the deactivate button.
How do I resend the password email?
To do this, you must first navigate to the "Administration" -> "Users" page. You will now see an overview of all created users. You can now search the list further up the page for the relevant person or scroll through the list. In the Action column there is an email icon that you can click to resend the password email to the relevant person.
Roles and rights
IVA works with a simple role and rights concept.
There are a total of five roles, which in turn are assigned to each division.
A user with a role for division A has no access to the data in division B.
Roles in IVA:
- Tester
The tester has access to the web tester and iOS tester app and can participate in tests and use all functions of both applications.
The planner can change the test configuration in terms of the range of functions on a test basis and activate or deactivate the "instructions", "free feedback" and "question/test catalogues" functions.
Additional functions can be activated/deactivated for "Free Feedback":
- Allow audio recordings
- Allow photo/video recording
- Capture GPS location
For the testers, the tests are divided according to the following types:
- Only tests with the status "Published", "Stopped" and "Meeting Break" appear for testers
- For "Closed Tests" the user needs the role "Tester" for the assigned division AND must be included in the list of testers assigned to the test
- For "Internal Tests" the "Tester" role is sufficient for the assigned division
Users with the role "Tester" do not have access to the web planner and are rejected and redirected to the web tester when they try to log in. - Watcher
The "Observer" role has access to the web planner and has read-only access to the reports of instructions, feedback and questionnaires from the tests in a division.
The rights are limited to the "Evaluations" menu item and the creation of reports on the results of tests in the assigned division.
For web tester and iOS tester app, the role "Observer" has no permission. - Analyst
The "Analyst" role has access to the web planner, has access to the reports of instructions, feedback and questionnaires for the tests in a division and can make changes as part of the feedback validation.
In addition to the analyst, this includes the rights for the following functions:
- Read, edit, validate, comment and forward feedback
- Reading and evaluating the questionnaires
The rights are limited to the "Evaluations" menu item and the creation of reports on the results of tests in the assigned division.
For web tester and iOS tester app, the role "Observer" has no permission. - Planner
As an administrator and organizer of tests, the "Planner" role has access to all menu items of the Web Planner (except for the "Administration" menu item), access to the Web Tester and the iOS Tester app.
In the web tester, planners have full access (CRUD) to the following functions in the assigned division:
- Evaluations and tests
- Evaluations
- data pool
- Templates
- Base data
Planners can create a "New tester" and authorize them as a "Tester" for a division at any time. The authorization as a tester can be granted or revoked at any time.
Please note that a planner needs the basic data:
- Last name (mandatory field)
- First name (mandatory field)
- E-mail (optional)
- Company/Department (optional)
when creating a new tester. However, these can no longer be changed after saving. Only an administrator can change the basic data of a tester retrospectively.
When creating a new tester, the planner can use the "Generate user account with login data" toggle to decide whether the new user:
- gets their own account with access to the tester platforms
- does not need their own access to the tester platforms and should only be able to be defined as an alternative assessor by other users
The planner can use the "Send E-Mail" toggle to immediately send the tester an e-mail with the necessary access data to the tester platforms
Planners can also participate in tests using the Web Tester application or the iOS Tester app and see tests already in "Draft" status.
This function is used by the planner for a "trial run" of a test, since all test data created are removed again after the status has changed to "Published". - Admin
The Admin role has access to the functions in the "Administration" menu item and is intended for managing the system.
The assignment of the roles "Planner", "Analyst" and "Watcher" can only be assigned by the role "Admin".
New divisions can also only be created by "Admin".
The rights for these functions are accordingly cross-divisional.
Help entries
What are help entries?
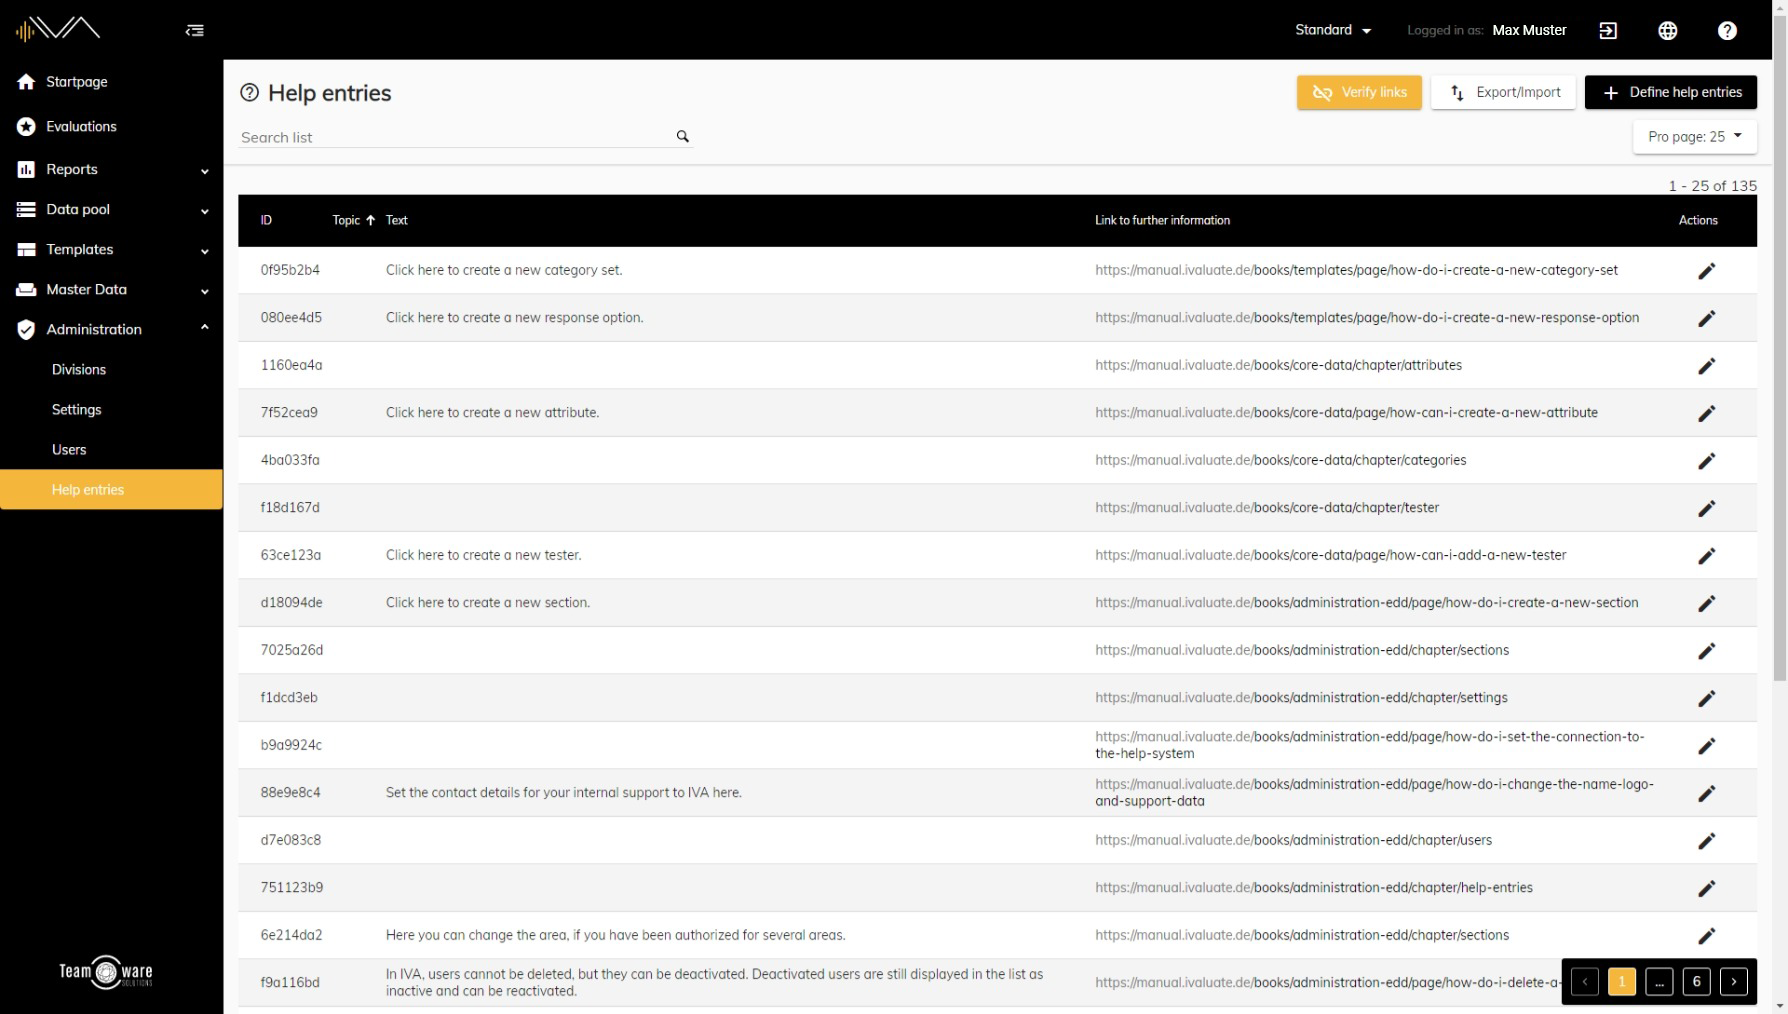
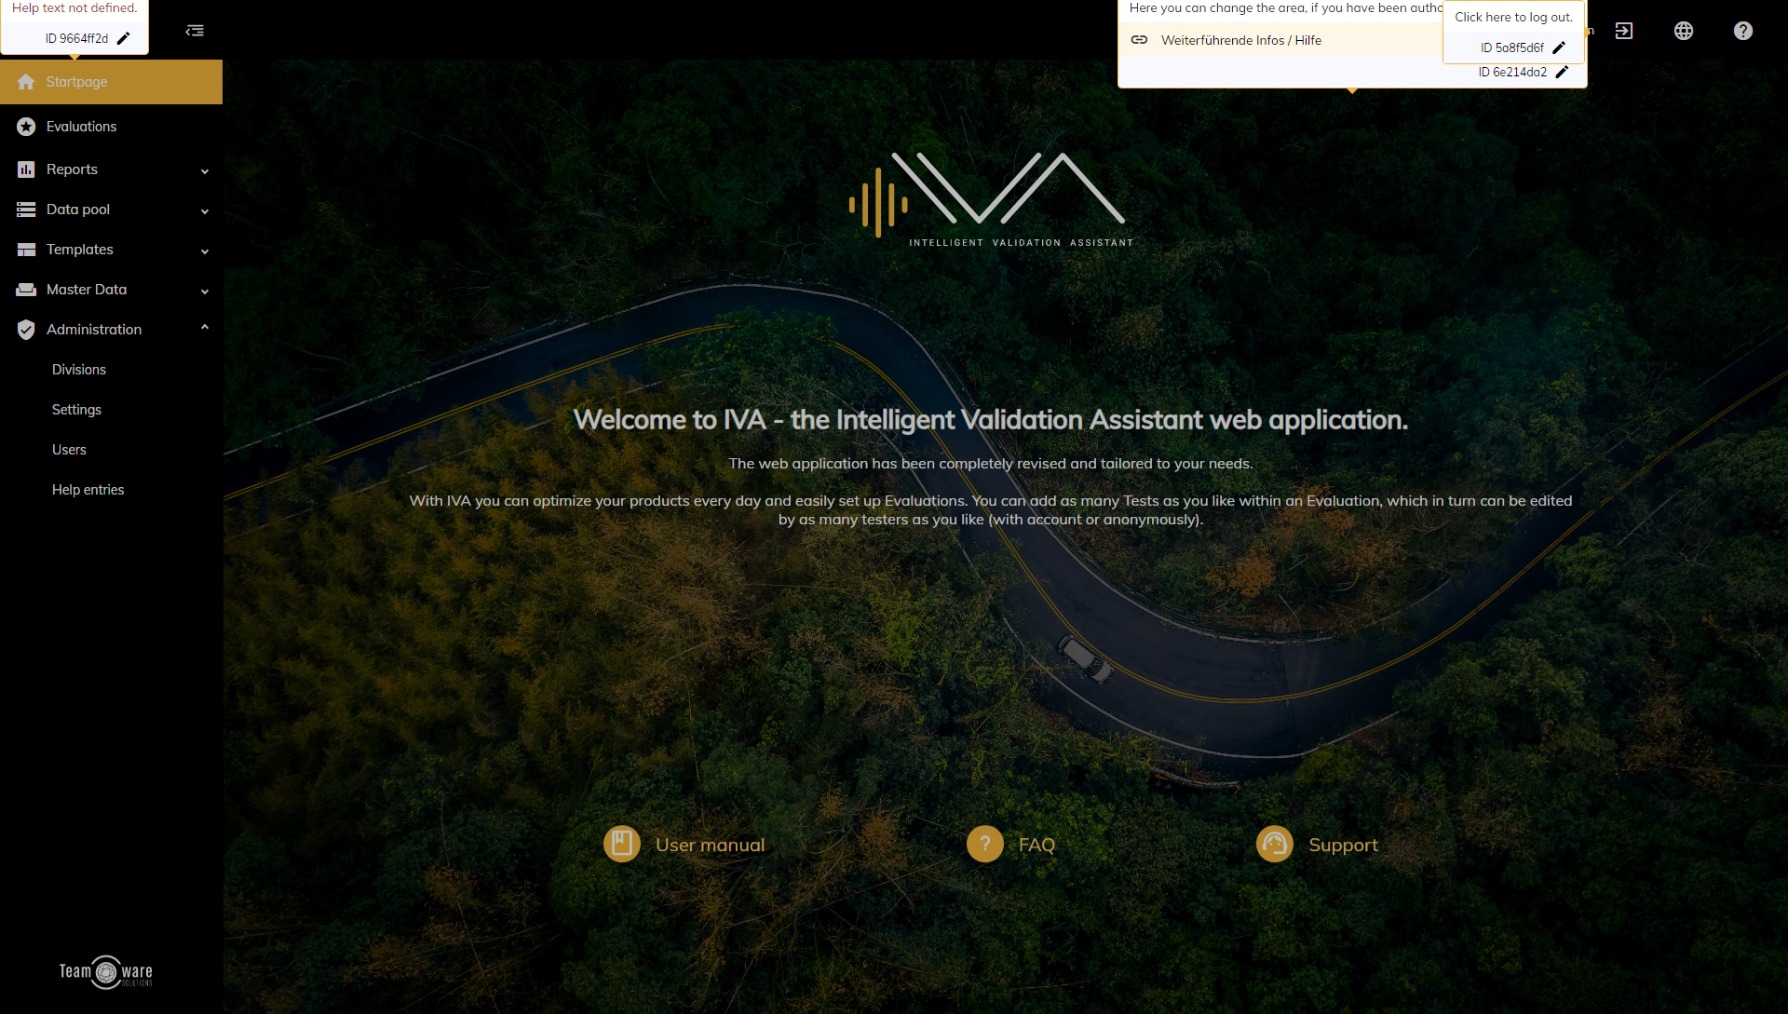
Help entries support planners in using the online tool. If you get stuck at any point, you can simply press the F2 key on your keyboard and see small help entries for the respective sections on the page. For some of them, there is also a "continuative link" that leads to the corresponding subpage of our online manual.
How do I add a help entry or edit one?
Now a popup window opens. Enter a name ("Topic"), an optional description ("Text") and optionally a link to further information (e.g. IVA Wiki). Afterwards you can choose the position of the help text. You can therefore decide whether you prefer to display the help entry at the top, bottom, left or right of the respective target object.
Remember to click the "Save" button after editing.